Section: Purchasing & M&S Control
Subject: Procedure, Create a D365 Purchase Requisition
Approved by: Tony Massey
Effective Date: 12 December 2021
Last Reviewed Date: 12 December 2021
Policy Owner: ERP Finance Manager
Policy #
A purchase requisition is used by a Service Center to request the Purchasing Department order materials or merchandise.
How to Create a Purchase Requisition #
- There are two types of Purchase Requisitions
- An RO (Requisition Order, also called a regular order) is done every month and submitted to purchasing no later than the 10th.
- An EPO Emergency Purchase Order) is only to be used when the RO was not sufficient to complete a month’s production, or a new sale has come in requiring material or equipment that would not be reasonable to have on hand. (i.e., we sold 100 rodent bait stations to a multi-family community, you shouldn’t have 100 RBS on-hand, so you put in an EPO).
- The RO is submitted on or before the 10th; product is delivered on the last week of the month. When placing the RO, you must plan for what you will need NEXT month.
- Planning an RO there are three categories of product to consider:
- What’s on the program rotation chart (pest) or argonomic program (GreenUp).
- What product the service center uses every month (i.e., every month we use four 18# pails of Contract while doing rodent bait station monitoring.
- Seasonal product use (i.e., in September make sure you have rodent products going into the fall/winter, in April make sure you have wasp freeze going into spring/summer).
- The procedures for calculating an order are provided in the following policies:
- Pest services- PP 602-D
- GreenUP- PP 602-E
- Termite- PP 602-F
- Planning an RO there are three categories of product to consider:
Steps To Creating a Purchase Requisition #
1. Log in to Microsoft D365.
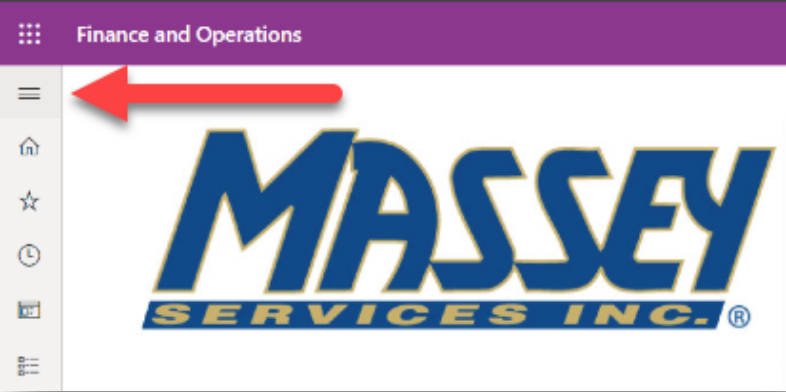
2. Click on the modules pane to access the modules (left side of the screen, top icon).
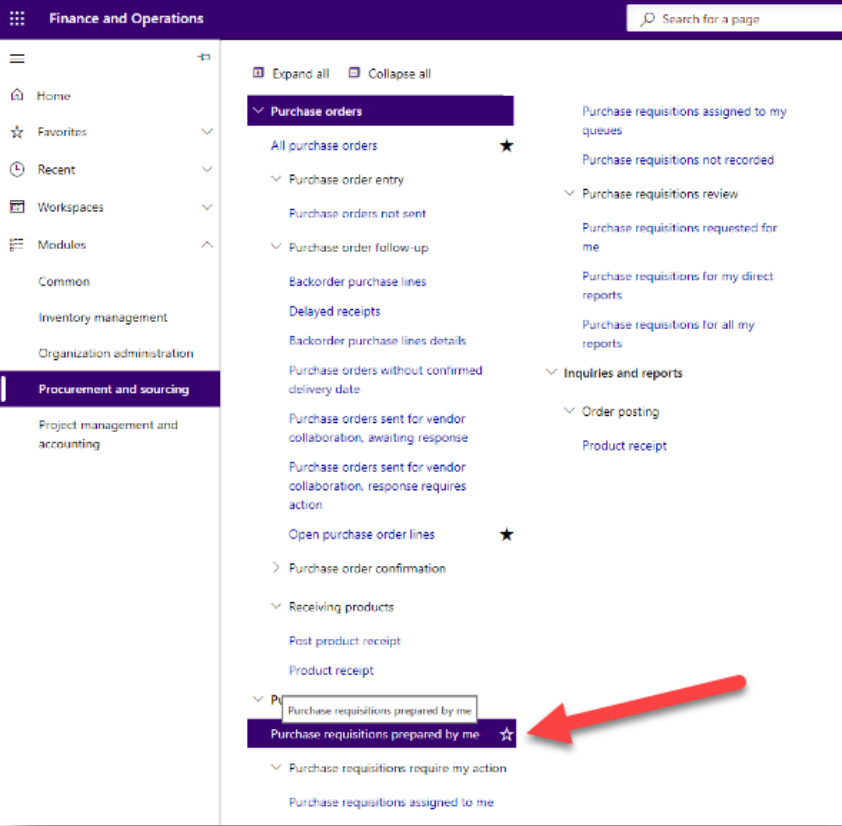
3. Click on “Procurement and sourcing.”

4. Under the Purchase Requisition menu, click “Purchase requisitions prepared by me.”
5. Click on “New” (top left corner).

6. Click to change the purchase requisition name. The name should be either emergency purchase order (EPO) or requisition order (RO), followed by the three-digit service center number and the date MM.DD.YY. For example, if on September 25, 2021, service center 126 placed an order, the requisition name would be “RO126092521.”
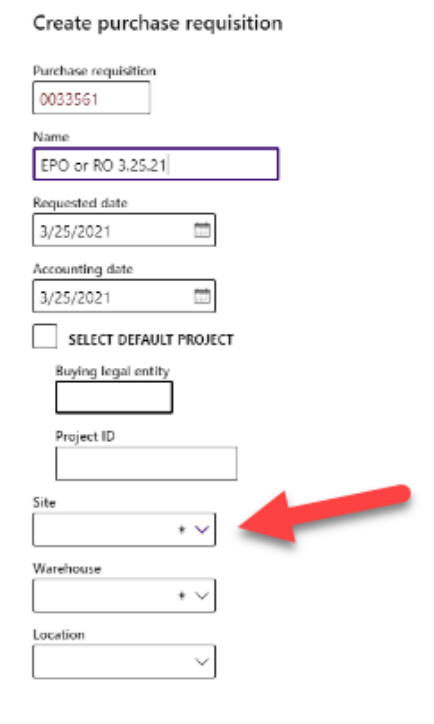
7. Click to open the “Site” drop down menu (right side of the screen).
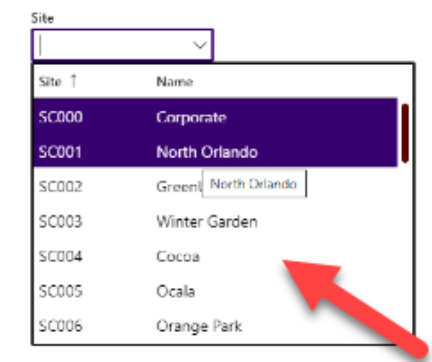
8. Scroll to find and click your service center.
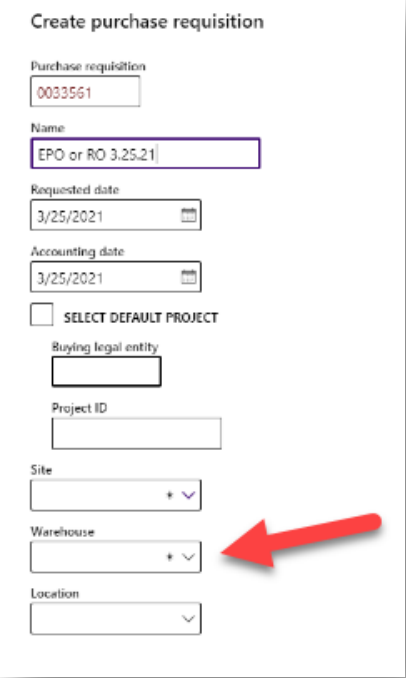
9. Click to open the “Warehouse” drop down menu (right side of the screen).
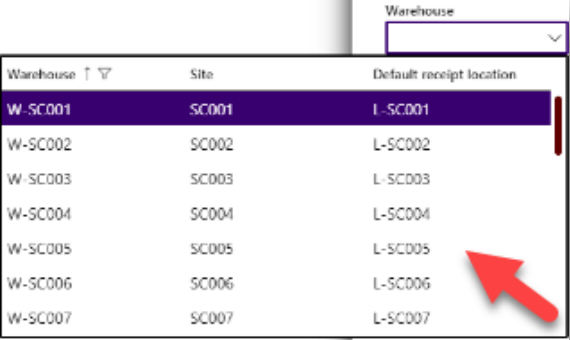
10. Scroll to find and click the correct warehouse.
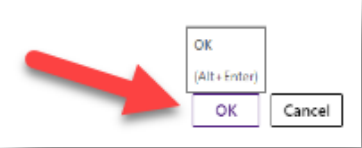
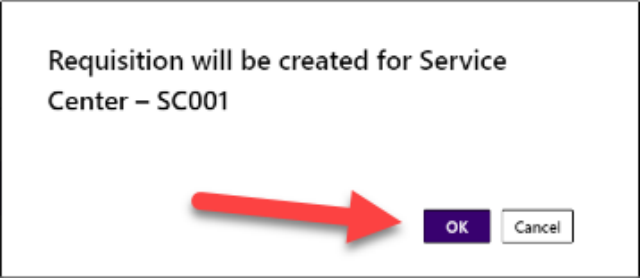
11. Click “OK” to confirm your selections (bottom left of the screen).
12. Click to open the Reason drop down menu (under business justificiation).

13. Select the reason for the requisition.

14. Click “Add line.”

15. In the item number field, click and input the item number.

If more items are required, repeat steps 14 & 15.
16. Click on “Workflow” (top menu bar).

18. Click “Submit” to verify the purchase requisition.
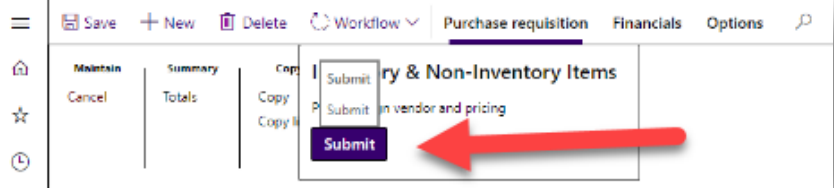
19. Click “Submit” to verify the final Purchase Requisition (bottom right of the screen).
